

wxPython is a cross-platform GUI toolkit that allows Python developers to create desktop applications for Windows, macOS, and Linux using native user interface components. It is built on top of the wxWidgets C++ library.
- Supports windows, dialogs, menus, toolbars, and other GUI components.
- Provides layout managers for responsive interfaces.
- Supports event-driven programming.
Installation
Install wxPython using pip:
pip install wxPython
Verify the installation:
import wx
print(wx.version())
Structure of a wxPython Application
A wxPython application consists of a few core components that work together to create and display a graphical user interface (GUI).
- wx.App: Initializes the application and manages its lifecycle.
- wx.Frame: Creates the main application window.
- wx.Panel: Acts as a container for GUI controls such as buttons, labels, and text boxes.
- Widgets: User interface elements such as StaticText, Button, CheckBox, and RadioButton that are added to the panel.
- MainLoop(): Starts the application's event loop and keeps the window responsive until it is closed.
import wx

app = wx.App()
frame = wx.Frame(None, title="My First wxPython App")
panel = wx.Panel(frame)
label = wx.StaticText(panel, label="Hello, wxPython!")
frame.Show()
app.MainLoop()
Note: Every wxPython application begins by creating a wx.App object and ends by calling MainLoop(). Without the event loop, the application window will not remain open or respond to user interactions.
Steps to Create a wxPython Application
- Import the wx module.
- Create an application object using wx.App().
- Create a main window using wx.Frame.
- Add a wx.Panel to hold GUI controls.
- Add widgets such as labels, buttons, or checkboxes.
- Display the window using Show().
- Start the event loop using MainLoop().
Example 1: Creating a wxPython Window
The following example creates a basic wxPython application that displays a window containing a text label.
import wx

# Create the application object
app = wx.App()

# Create the main application window
frame = wx.Frame(None, title="wxPython Example", size=(400, 200))

# Create a panel to hold widgets
panel = wx.Panel(frame)

# Create a vertical layout manager
sizer = wx.BoxSizer(wx.VERTICAL)

# Add a text label
label = wx.StaticText(panel, label="GEEKS FOR GEEKS")

# Add the label to the layout manager
sizer.Add(label, 0, wx.ALL | wx.CENTER, 20)

# Apply the layout manager to the panel
panel.SetSizer(sizer)

# Display the window
frame.Show()

# Start the application event loop
app.MainLoop()
Output:
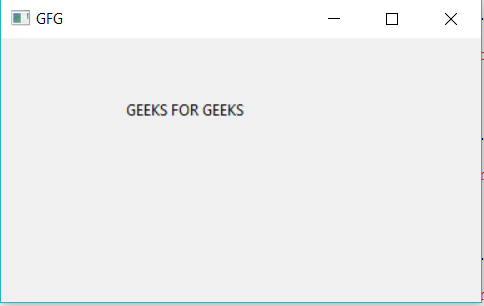
Explanation:
- wx.StaticText() displays text on the panel.
- sizer.Add() adds the label to the layout manager with alignment and spacing.
- panel.SetSizer() applies the layout manager to the panel.
- frame.Show() displays the application window.
- app.MainLoop() starts the event loop and keeps the application responsive until it is closed.
Example 2: Adding a Button
Buttons allow users to perform an action when they are clicked. In wxPython, button click events can be handled by binding the button to an event handler.
import wx


class MyFrame(wx.Frame):
    def __init__(self):
        super().__init__(None, title="Button Example", size=(350, 200))

        panel = wx.Panel(self)

        sizer = wx.BoxSizer(wx.VERTICAL)

        button = wx.Button(panel, label="Click Me")
        button.Bind(wx.EVT_BUTTON, self.on_button_click)

        sizer.Add(button, 0, wx.ALL | wx.CENTER, 20)

        panel.SetSizer(sizer)

    def on_button_click(self, event):
        wx.MessageBox(
            "Button clicked!",
            "Information",
            wx.OK | wx.ICON_INFORMATION
        )


app = wx.App()
frame = MyFrame()
frame.Show()
app.MainLoop()
Output:
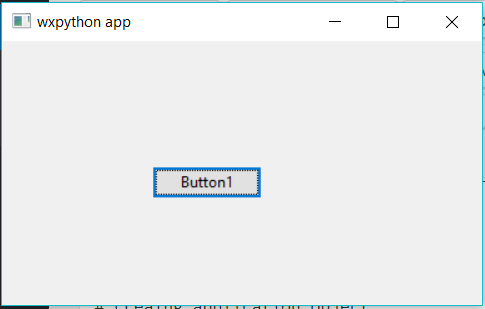
Explanation:
- wx.Button() creates a button widget.
- Bind() associates the button click event (wx.EVT_BUTTON) with the on_button_click() method.
- wx.MessageBox() displays a dialog when the button is clicked.
- BoxSizer automatically positions the button within the window.
Note: Event binding allows widgets to respond to user interactions, making GUI applications interactive.
Example 3: Adding CheckBoxes
Checkboxes allow users to select multiple independent options. Each checkbox can be checked or unchecked without affecting the others.
import wx

app = wx.App()

frame = wx.Frame(None, title="CheckBox Example", size=(350, 220))

panel = wx.Panel(frame)

sizer = wx.BoxSizer(wx.VERTICAL)

checkbox1 = wx.CheckBox(panel, label="Python")
checkbox2 = wx.CheckBox(panel, label="Java")

sizer.Add(checkbox1, 0, wx.ALL, 10)
sizer.Add(checkbox2, 0, wx.ALL, 10)

panel.SetSizer(sizer)

frame.Show()

app.MainLoop()
Output:
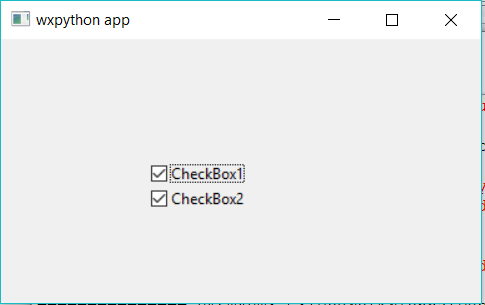
Explanation:
- wx.CheckBox() creates a checkbox control.
- Two independent checkboxes are added to the panel.
- BoxSizer arranges the checkboxes vertically.
- Each checkbox can be selected or cleared independently of the other
Note: Use checkboxes when users need to select zero, one, or multiple options.
Example 4: Adding Radio Buttons
Radio buttons allow users to choose only one option from a group of related choices.
import wx

app = wx.App()

frame = wx.Frame(None, title="Radio Button Example", size=(350, 220))

panel = wx.Panel(frame)

sizer = wx.BoxSizer(wx.VERTICAL)

radio1 = wx.RadioButton(panel, label="Python", style=wx.RB_GROUP)
radio2 = wx.RadioButton(panel, label="Java")

sizer.Add(radio1, 0, wx.ALL, 10)
sizer.Add(radio2, 0, wx.ALL, 10)

panel.SetSizer(sizer)

frame.Show()

app.MainLoop()
Output:
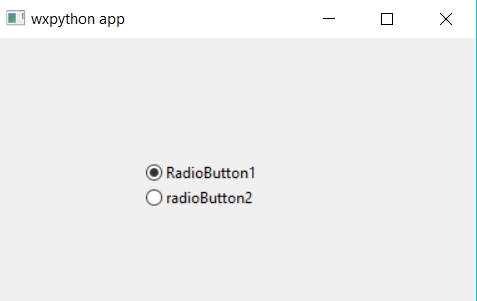
Explanation:
- wx.RadioButton() creates a radio button control.
- The first radio button uses wx.RB_GROUP to start a new radio button group.
- Only one radio button in the group can be selected at a time.
- BoxSizer automatically arranges the radio buttons vertically.
Note: Use radio buttons when users must choose exactly one option from a group of mutually exclusive choices.
Common Widgets
| Widget | Purpose |
|---|---|
| StaticText | Display text |
| Button | Perform actions |
| TextCtrl | Accept input |
| CheckBox | Toggle option |
| RadioButton | Choose one option |
| ComboBox | Dropdown |
| ListBox | Display list |