

PyAutoGUI is a cross-platform Python library used to automate mouse movements, keyboard input, screenshots, and basic GUI interactions. It allows Python programs to control the mouse and keyboard, making it useful for automating repetitive desktop tasks, testing graphical applications, and creating simple automation scripts.
Prerequisites
Before using PyAutoGUI, ensure that:
- Python is installed.
- PyAutoGUI is installed.
- The script has permission to control the mouse and keyboard.
- The operating system allows accessibility or automation permissions (especially on macOS).
Installation
Install PyAutoGUI using following command:
pip install pyautogui
Verify the installation:
import pyautogui
print(pyautogui.__version__)
This module does not come preloaded with Python. To install it type the below command in the terminal.
pip install pyautogui # for windows
or
pip3 install pyautogui #for linux and Macos
Mouse Automation
PyAutoGUI provides several functions to automate mouse movements, clicks, and drag-and-drop operations. These functions can be used to retrieve screen information, move the mouse cursor, perform clicks, and simulate dragging actions.
Getting the current position of the mouse cursor
Before automating mouse movements, it is often useful to determine the screen size and the current mouse cursor position.
- size() returns the width and height of the primary display.
- position() returns the current coordinates of the mouse cursor.
import pyautogui

# Get the screen resolution
print(pyautogui.size())

# Get the current mouse position
print(pyautogui.position())
Output
Size(width=1920, height=1080)
Point(x=820, y=420)
Moving and Clicking the Mouse
PyAutoGUI allows the mouse cursor to be moved to an absolute position or relative to its current position. Mouse clicks can then be performed at the current cursor location or at specified coordinates.
- moveTo() moves the cursor to a specific screen position.
- moveRel() moves the cursor relative to its current position.
- click() performs a mouse click.
import pyautogui

screen_width, screen_height = pyautogui.size()

# Move to the center of the screen
pyautogui.moveTo(screen_width // 2, screen_height // 2, duration=1)

# Perform a left click
pyautogui.click()

# Move 100 pixels right and 50 pixels down
pyautogui.moveRel(100, 50, duration=1)

# Perform a right click
pyautogui.click(button="right")
Output

Explanation:
- moveTo() moves the cursor to the specified coordinates.
- moveRel() moves the cursor relative to its current position.
- duration controls how long the movement takes.
- click() performs a left click by default, while button="right" performs a right click.
Note: Avoid using hardcoded coordinates unless the screen resolution is fixed. Using values returned by size() makes scripts more portable.
Dragging the cursor to a specific screen position
PyAutoGUI can simulate drag-and-drop operations by holding the mouse button while moving the cursor.
- dragTo() drags the cursor to a specified position.
- dragRel() drags the cursor relative to its current position.
import pyautogui

# Move to the starting position
pyautogui.moveTo(400, 300, duration=1)

# Drag to a new position
pyautogui.dragTo(700, 300, duration=1)

# Drag relative to the current position
pyautogui.dragRel(100, 50, duration=1)
Output:
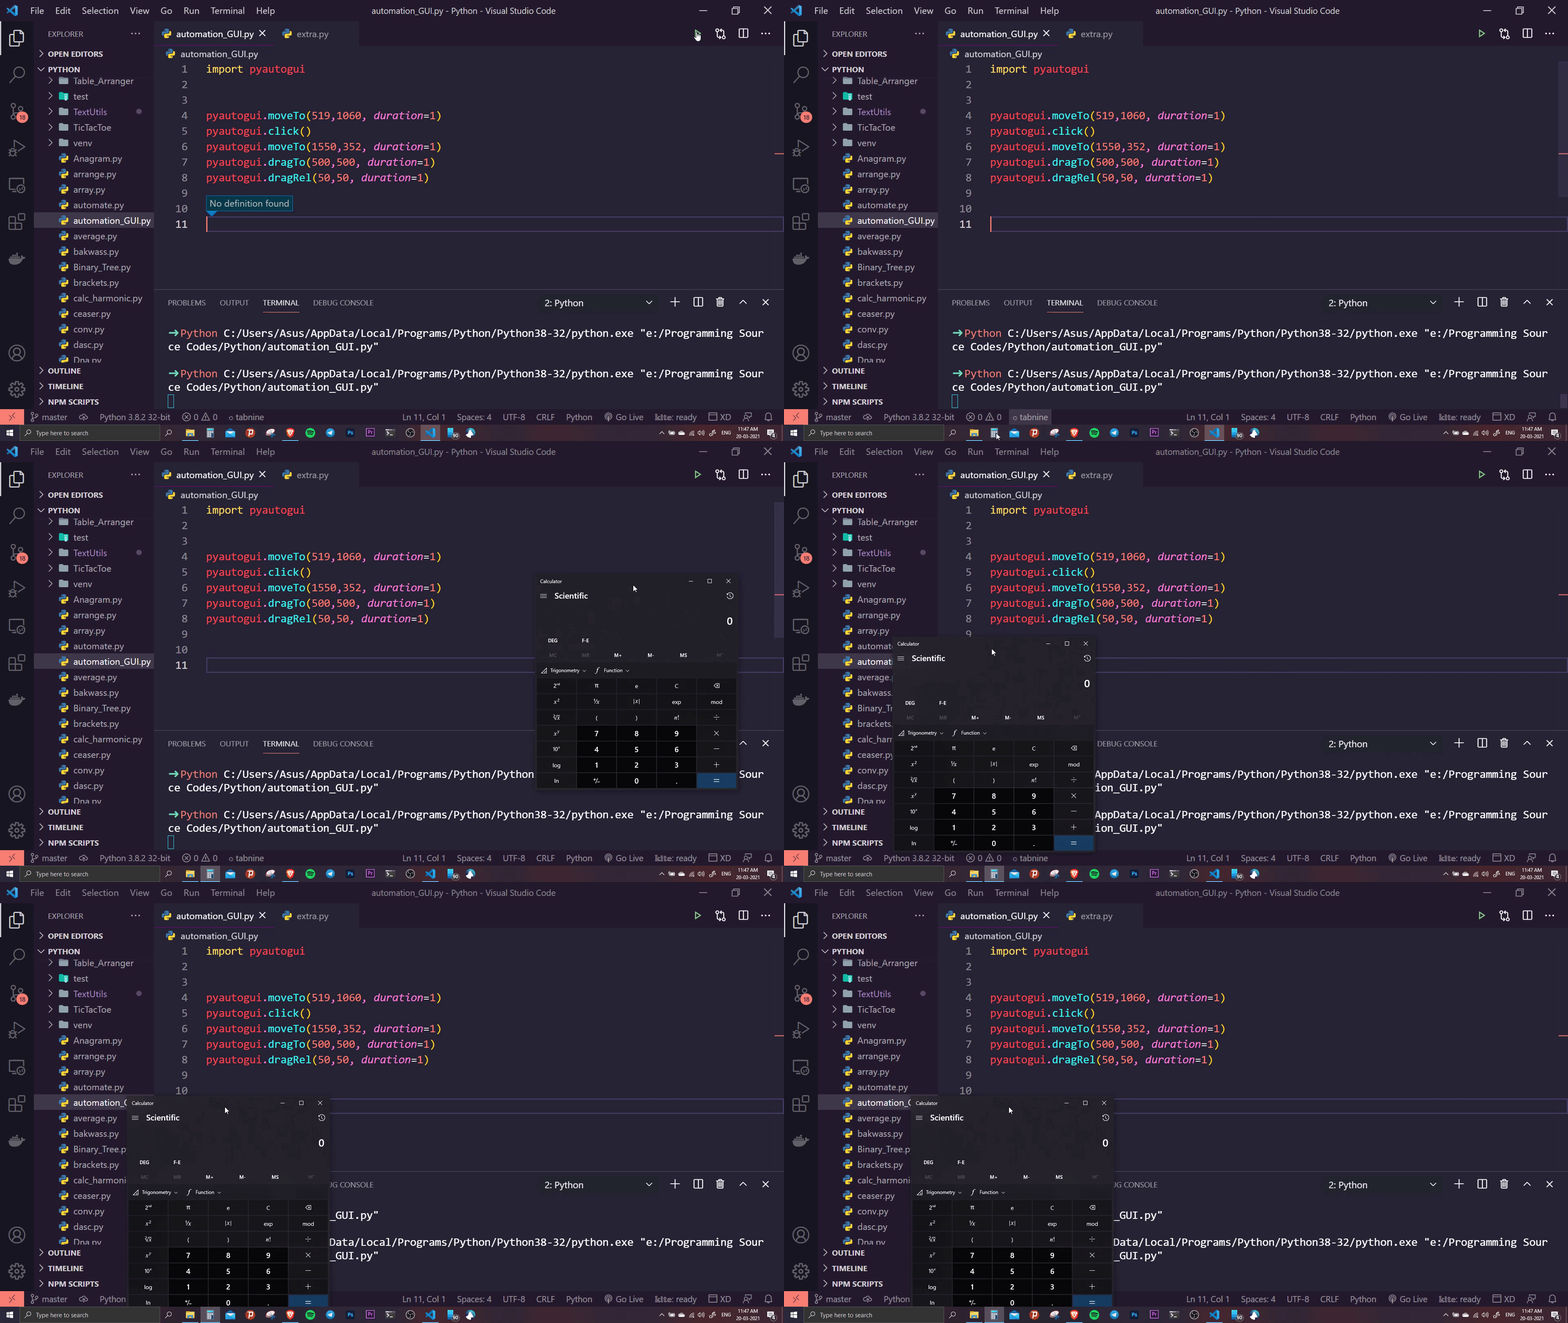
Explanation:
- dragTo() drags the cursor to the specified coordinates while holding the left mouse button.
- dragRel() drags the cursor relative to its current position.
- These functions are useful for resizing windows, moving files, or interacting with graphical applications.
Keyboard Automation
PyAutoGUI can simulate keyboard input, including typing text, pressing individual keys, and executing keyboard shortcuts.
Typing Text
The write() function types text exactly as if it were entered from the keyboard.
# used to access time related functions
import time
import pyautogui

# pauses the execution of the program
# for 5 sec
time.sleep(5)

# types the string passed inside the
# function
pyautogui.typewrite("Geeks For Geeks!")
Output

Explanation:
- time.sleep() provides time to switch to another application.
- write() simulates typing each character in the specified string.
Pressing Keys and Keyboard Shortcuts
PyAutoGUI provides the press() and hotkey() functions to simulate individual key presses and key combinations.
import time
import pyautogui

time.sleep(5)

pyautogui.write("GeeksforGeeks")

pyautogui.press("enter")

pyautogui.hotkey("ctrl", "a")
Output:

Explanation:
- press() simulates pressing a single key.
- hotkey() presses multiple keys together in sequence.
- Keyboard shortcuts are commonly used for tasks such as copy, paste, undo, and select all.
Message Boxes
PyAutoGUI provides several built-in dialog boxes that can be used to display alerts, confirmations, prompts, and password input dialogs. These dialog boxes are implemented using Tkinter and are supported across multiple platforms.
Example: Displaying Message Boxes
import pyautogui

pyautogui.alert(
    text="Operation completed successfully.",
    title="Alert",
    button="OK"
)

pyautogui.confirm(
    text="Do you want to continue?",
    title="Confirmation",
    buttons=["Yes", "No"]
)

pyautogui.prompt(
    text="Enter your name:",
    title="Input"
)

pyautogui.password(
    text="Enter your password:",
    title="Password",
    mask="*"
)
Output:
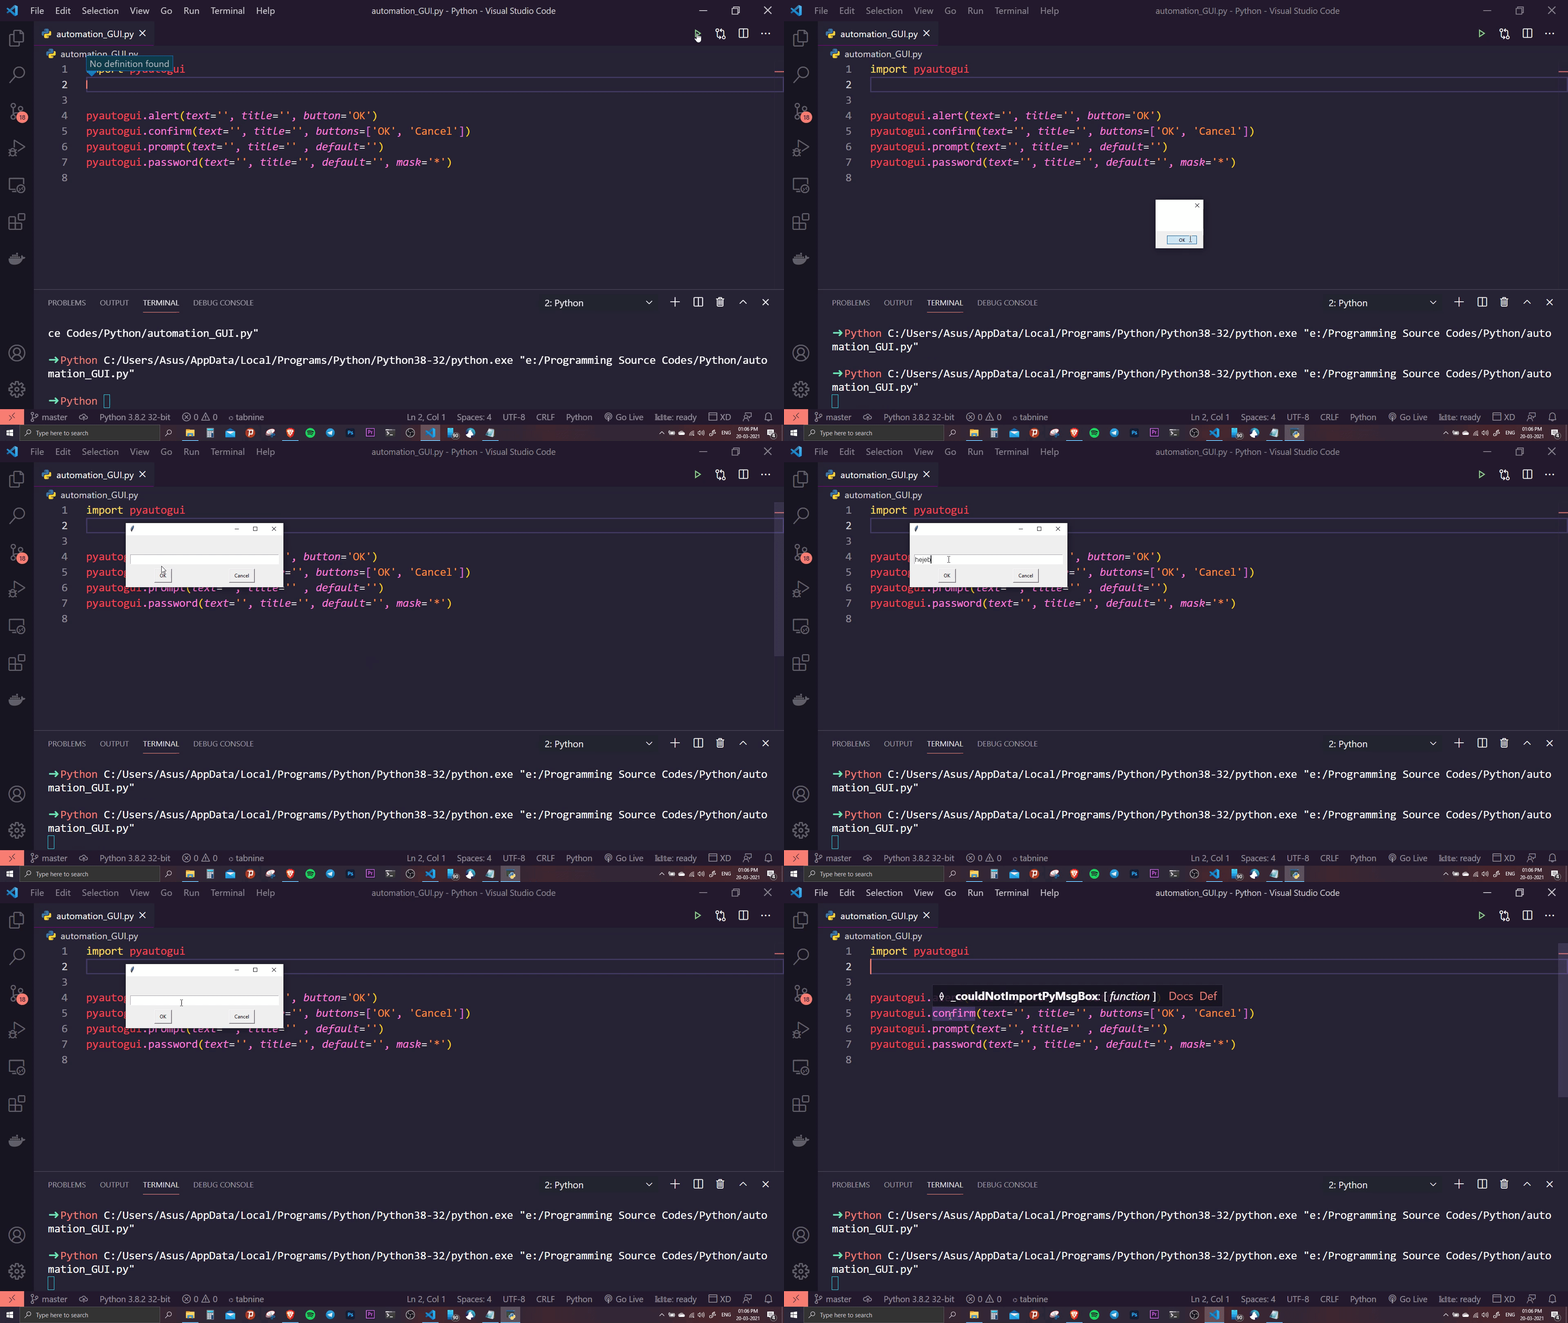
Explanation:
- alert() displays a message with a single button.
- confirm() displays multiple buttons and returns the selected option.
- prompt() accepts text input from the user.
- password() accepts masked password input.
Taking screenshots
PyAutoGUI provides the screenshot() function to capture the entire screen or a specific region. The captured screenshot is returned as a PIL (Python Imaging Library) Image object, which can be saved, displayed, or processed further.
Capturing the Entire Screen
Example: The following example captures the current screen and saves it as an image file.
import pyautogui

# Capture the entire screen
screenshot = pyautogui.screenshot()

# Save the screenshot
screenshot.save("screenshot.png")

print("Screenshot saved successfully.")
Output
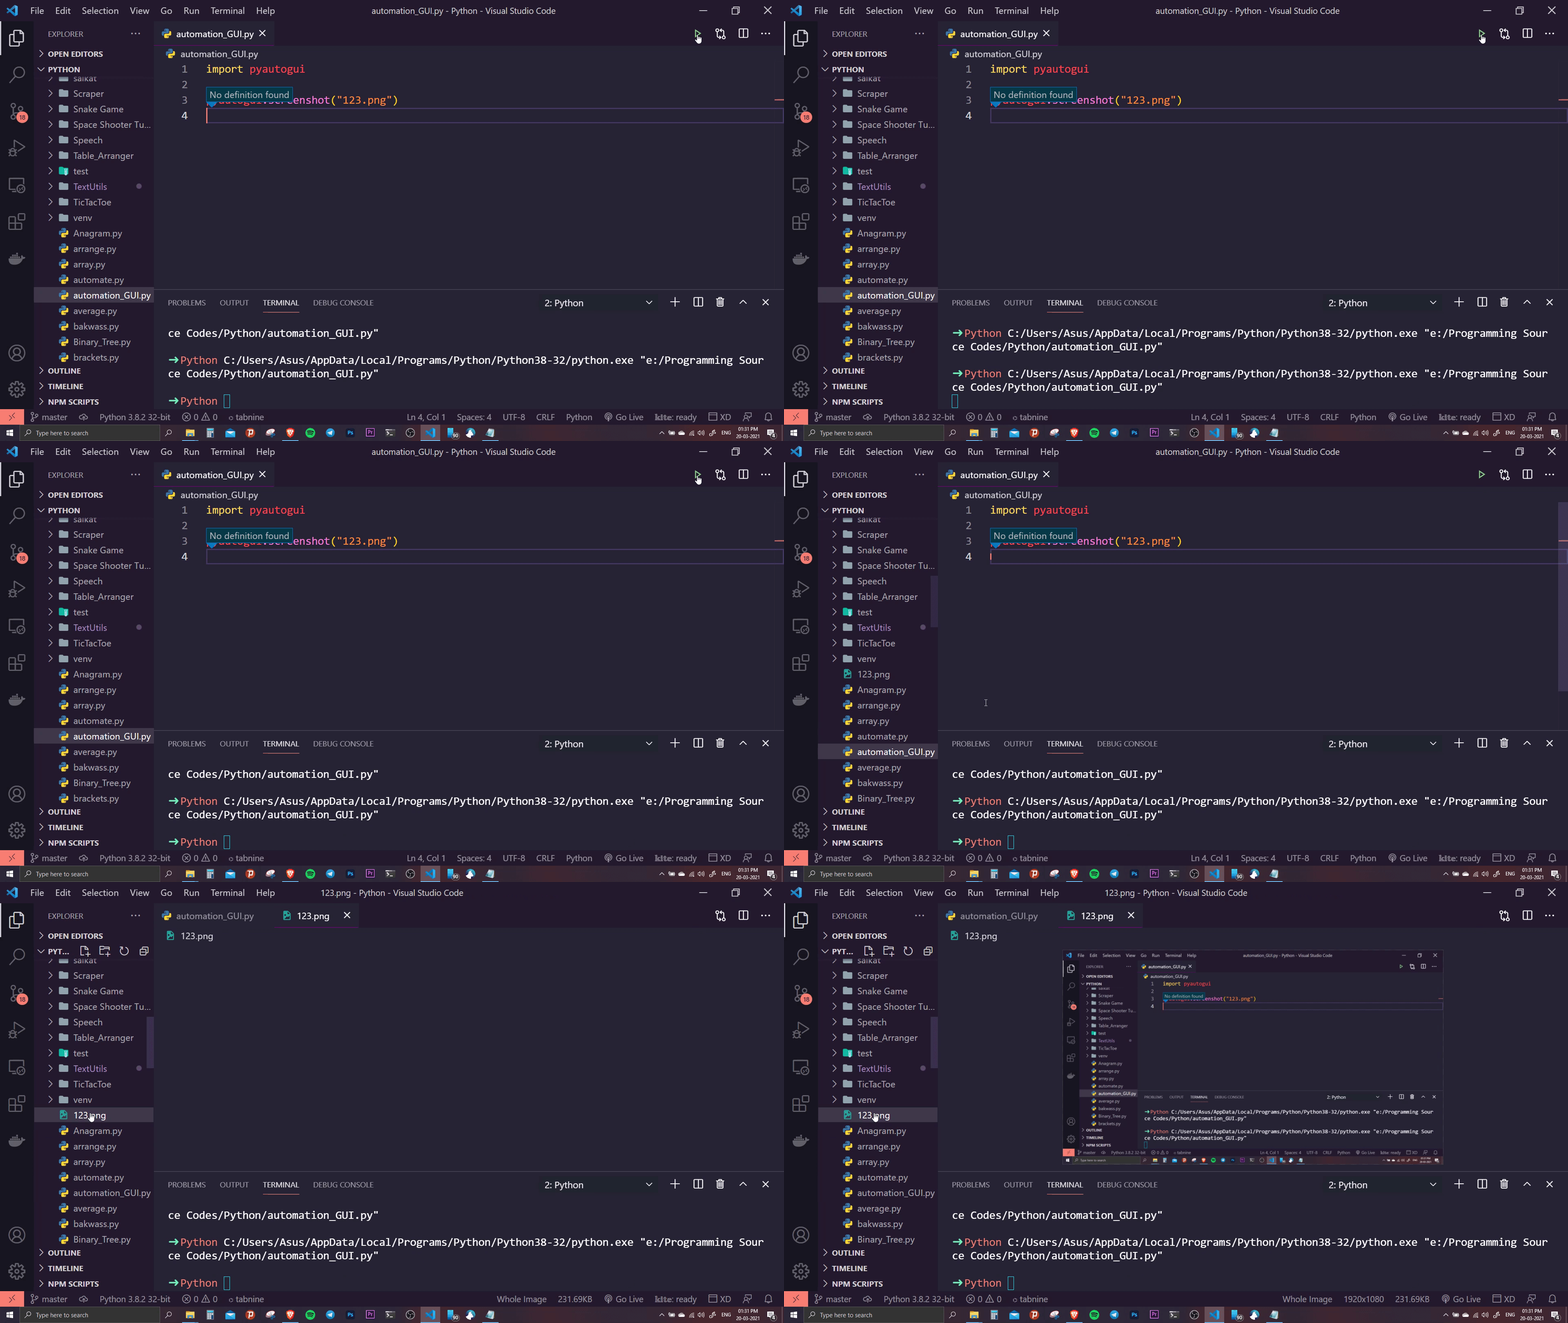
Explanation:
- screenshot() captures the entire screen and returns a PIL Image object.
- save() stores the captured image in the specified file.
- The screenshot can also be displayed or processed using image-processing libraries such as Pillow.