Apache Kafka is an open-source distributed event streaming platform used for building real-time data pipelines and event-driven applications. It follows the publish-subscribe messaging model, allowing producers to publish messages and consumers to process them asynchronously.
- High-throughput message processing
- Fault-tolerant and distributed architecture
- Real-time event streaming and processing
Note: Before building Kafka-based Spring Boot applications, we first need to install and start Apache Kafka on our local machine.
Steps To Download and Install Apache Kafka
Follow these steps to download and configure Apache Kafka on window
Step 1: Download Apache Kafka
Download the latest Apache Kafka binary package from the official Apache Kafka website.
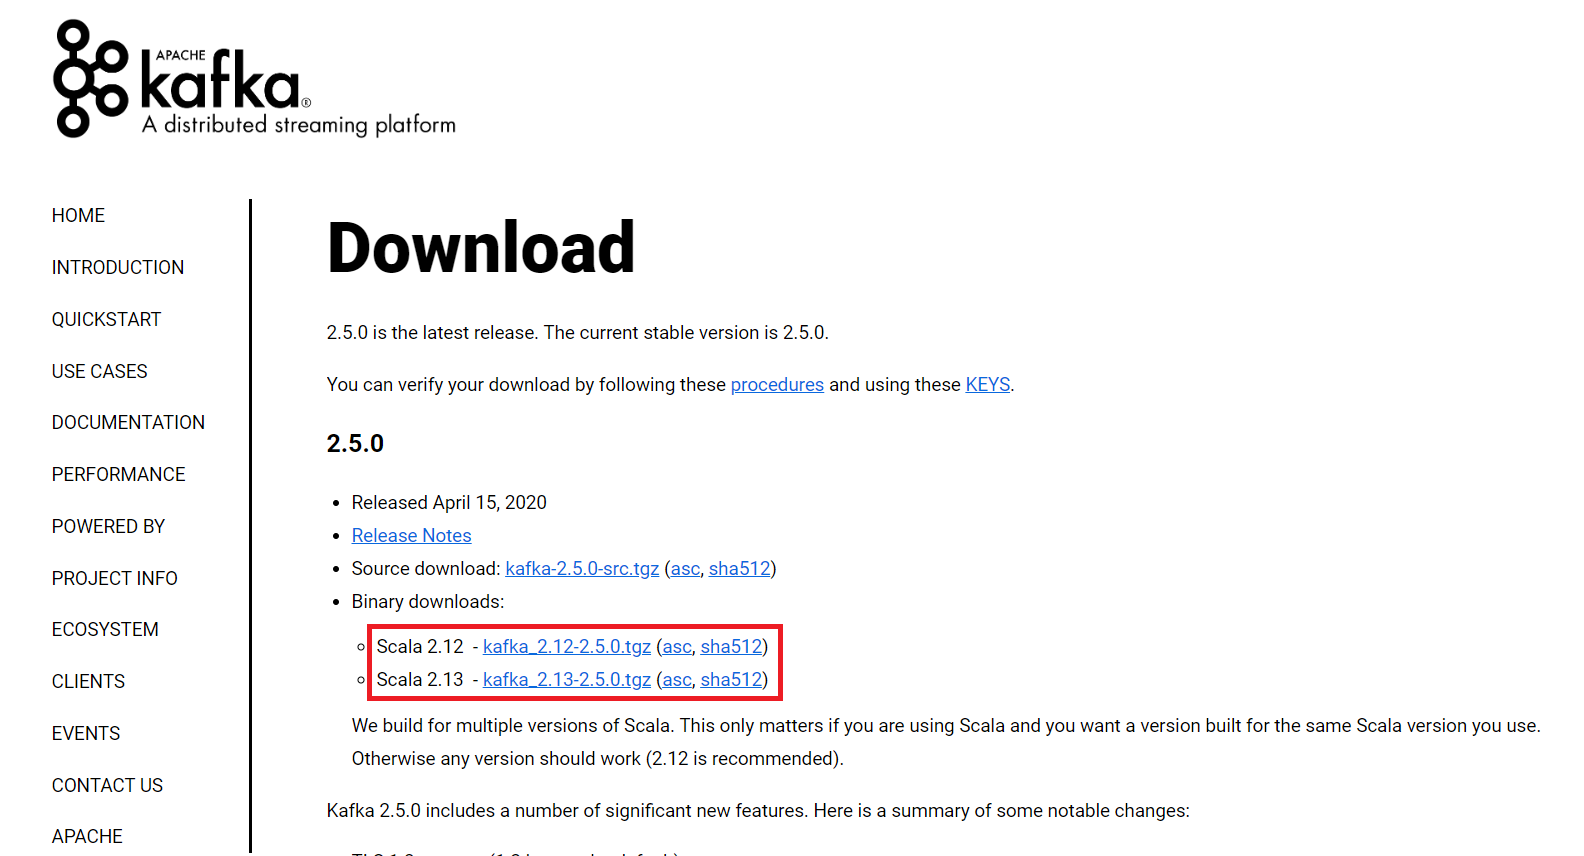
Choose the Binary Download package and download the .tgz or .zip file suitable for Windows.
Step 2: Extract the Kafka Files
For the installation process, follow the steps given below:
After downloading:
- Navigate to the Downloads folder.
- Extract the downloaded Kafka archive.
Move the extracted folder to a preferred location.
For example:
C:\kafka
Step 3: Configure ZooKeeper Data Directory
Kafka versions running with ZooKeeper require configuring the ZooKeeper data directory.
- Open the following file:
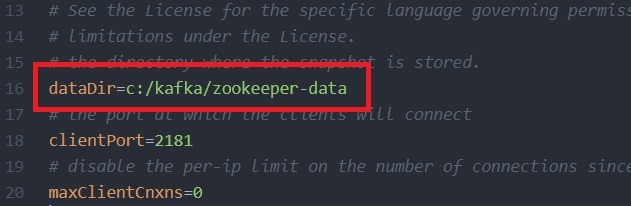
C:\kafka\config\zookeeper.properties
Update the path with this:
dataDir=C:/kafka/zookeeper-data
Step 4: Configure Kafka Log Directory
Open the directory
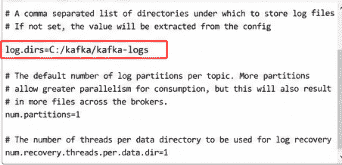
C:\kafka\config\server.properties
There should be one path visible
log.dirs=/tmp/kafka-logs
Update the above path for kafka log directory
log.dirs=C:/kafka/kafka-logs
Step 5: Start ZooKeeper Server
Open Command Prompt and navigate to the Kafka directory:
cd C:\kafka
Run the following command:
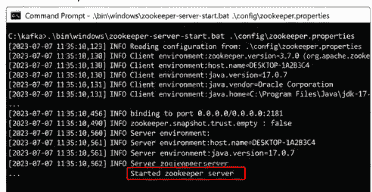
.\bin\windows\zookeeper-server-start.bat .\config\zookeeper.properties
If everything is configured correctly, ZooKeeper will start on port 2181.
Step 6: Start Kafka Server
Open another Command Prompt and navigate to the Kafka directory:
cd C:\kafka
Start the Kafka server:
.\bin\windows\kafka-server-start.bat .\config\server.properties

Step 7: Create a Kafka Topic
Create a sample topic to verify the installation:
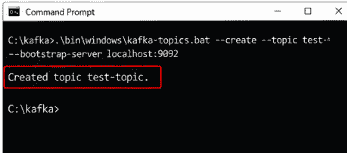
.\bin\windows\kafka-topics.bat --create --topic test-topic --bootstrap-server localhost:9092
Expected Output:
Step 8: Verify the Kafka Topic
You can list all available Kafka topics by using this command:
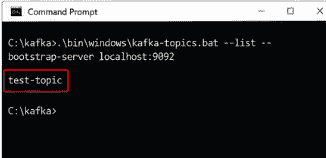
.\bin\windows\kafka-topics.bat --list --bootstrap-server localhost:9092
Output:
Step 9: Test Producer and Consumer
Open a producer terminal:
.\bin\windows\kafka-console-producer.bat --topic test-topic --bootstrap-server localhost:9092
Open another terminal and start the consumer:
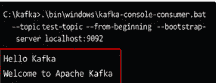
.\bin\windows\kafka-console-consumer.bat --topic test-topic --from-beginning --bootstrap-server localhost:9092
Send a message from the producer:
Hello Kafka
You should see the same message printed in the consumer console.